
Menu

If you want your shed to stay square, stable, and dry for the long haul, the foundation matters as much as the shed itself. Learning how to pour a concrete slab for a shed helps prevent common problems like shifting, door misalignment, puddling at the base, and moisture damage. When the pad is sized correctly, poured to the right thickness, and cured properly, it can support your shed for decades.
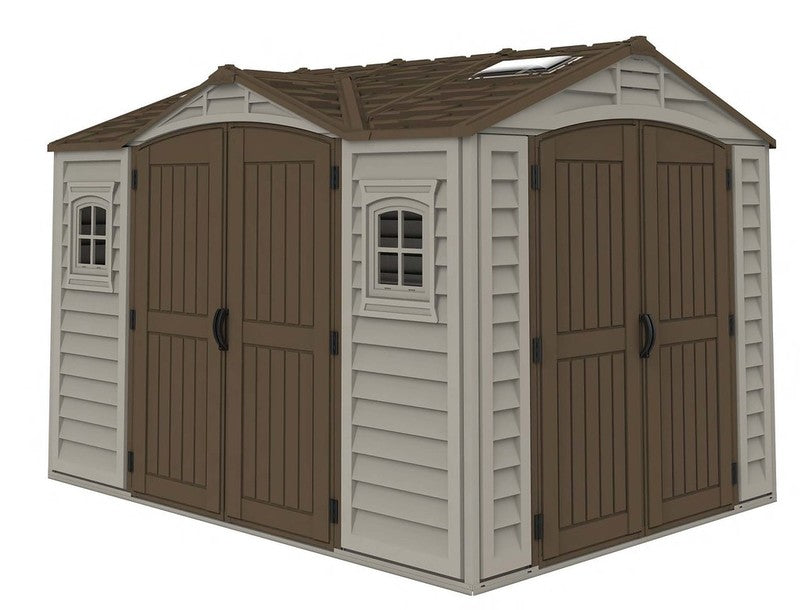
At Durasheds, many of our Duramax plastic vinyl sheds include a galvanized steel foundation kit or a built-in floor system designed to sit on a strong, level base. While customers can choose from multiple foundation types, a level concrete pad is often the best option for maximum durability, easy anchoring, and long-term performance.
Below is a complete, practical guide to planning, pouring, finishing, and curing a shed concrete slab, with tips that apply to popular Duramax sizes—from compact backyard sheds to larger vinyl storage sheds and garages.
Table of Contents

Concrete Slab vs. Other Shed Foundations (Why Concrete Wins)
A shed is only as good as what it stands on. Uneven soil, thin pavers, and poorly compacted bases can settle over time—leading to racking, leaks, and doors that won’t close right. A properly poured slab solves those issues because it provides:
Concrete also supports heavier use cases—like workbenches, heavy storage, or equipment—without the “soft spots” that can develop with other base types.

Planning Your Shed Concrete Pad (Location, Size, Thickness)
1) Choose the right location (and check rules first)
Before you break ground, review local building codes, HOA rules, and any setback requirements (distance from fences, property lines, and utility easements). Then pick a site that is:
Tip: Plan for water to flow away from the shed. Poor drainage is one of the biggest reasons foundations fail early.
2) Size the slab correctly
Your slab should generally be slightly wider than the shed footprint. Many installers intentionally leave 6–12 inches of extra pad around the shed perimeter. That extra space:
Always follow the Duramax installation manual for model-specific pad recommendations.
3) Use the right thickness
For most backyard shed installations, 4–5 inches (100–125 mm) is a dependable target thickness for strength and stability.
For larger sheds (or heavier use), reinforcement becomes more important—especially if you’ll store heavier items or install a vinyl garage.
4) Estimate concrete volume
To calculate how much concrete you need for a shed slab:
This helps you order the right amount and avoid mid-pour delays.

Tools + Materials Checklist
Have everything on site before the pour so you’re not scrambling while concrete is setting.
Materials
Tools
Step 1: Mark, Square, and Excavate the Site
A common excavation depth is 4–6 inches (100–150 mm) plus whatever base thickness you’re using.
Step 2: Build the Base Layers (Gravel + Moisture Barrier)
A stable sub-base prevents cracking and settling.
This moisture step is especially valuable for sheds where you’ll store tools, boxes, or anything sensitive to dampness.
Step 3: Formwork and Reinforcement (Rebar / Mesh)
Build the forms
Use treated boards secured with stakes. Make sure the top edge of the formwork matches your planned finished height—this becomes your guide for screeding.
Add reinforcement (recommended for larger pads)
For larger Duramax models (like 10.5x8 Woodside PLUS or 10.5x13 Woodbridge PLUS) add wire mesh or rebar to improve strength and reduce cracking risk as the slab ages.
Keep reinforcement lifted slightly (on chairs or small supports) so it sits within the concrete—not resting on the gravel.
Step 4: Pour, Screed, and Finish the Concrete
Once forms and base are ready, move efficiently—concrete waits for no one.
Step 5: Control Joints and Drainage Details
Control joints (crack control)
Concrete cracks—control joints help it crack where you want it to. Add joints as recommended for slab size (common approach: divide large slabs into sections).
Keep the slab slightly above grade
A pad that sits just a bit higher than surrounding ground encourages water to drain away instead of pooling at the shed base—an underrated detail that protects your shed for years.
Step 6: Curing Time (When You Can Build on It)
Curing is where the slab gains strength.
A properly cured slab is stronger, more crack-resistant, and better for long-term shed alignment.
Once cured:

Anchoring Your Shed to the Slab
Anchoring prevents shifting in strong winds and helps keep doors aligned.
Common options:
For Duramax sheds, either approach can work well depending on the model and the installation method you choose (direct-to-slab or using the included galvanized steel foundation kit with a plywood floor).

Choose the Right Duramax Shed Size & Model
Once your concrete pad is ready, selecting the right shed becomes easy. Popular options include:
At DuraSheds, we can help you choose the best model for your yard, storage goals, and foundation plan—so your shed installation is strong from the ground up.